Set Up The SSTP VPN Connection On Windows 7
This step-by-step tutorial shows how to setup a SSTP connection on Windows 7 and start using VPN servers.
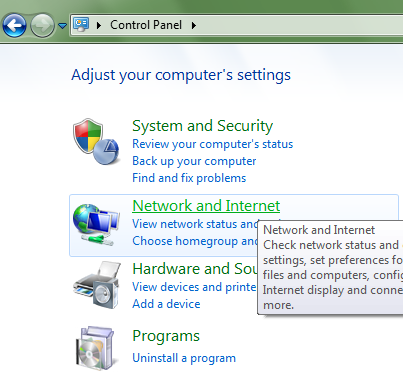
Step 1. Open Start and select Control Panel
Select Control Panel - Home if control panel is set to Classic View.

Step 2. Select Network and Internet.
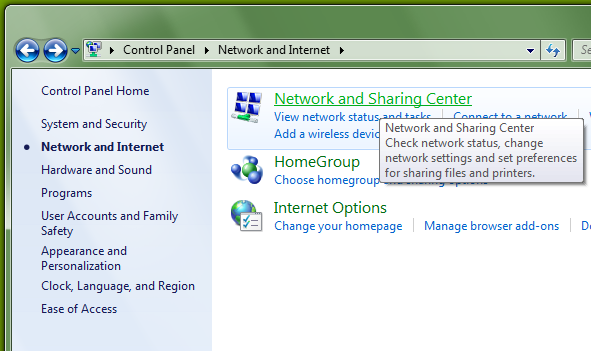
Step 3. Select Network and Sharing Center.
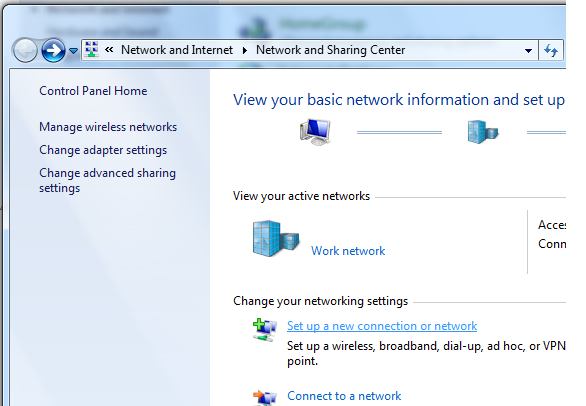
Step 4. Select Set up a new connection or network.
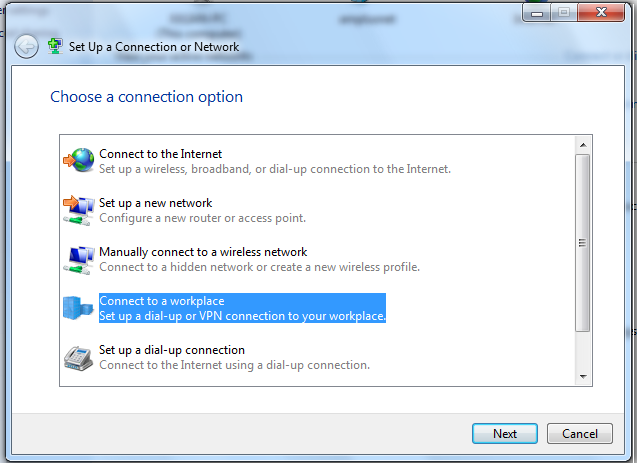
Step 5. Select Connect to a workplace and click Next.
If you are asked to connect to an existing network, do select No.
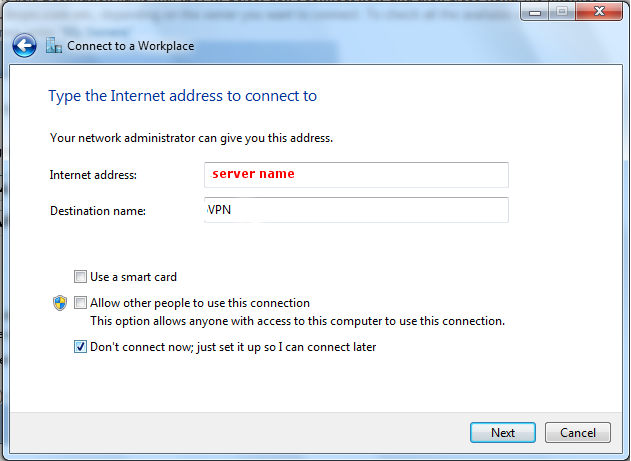
Step 6. Fill in the field Internet address with server name and the field Destination name with VPN. Select don't connect now and then press Next.
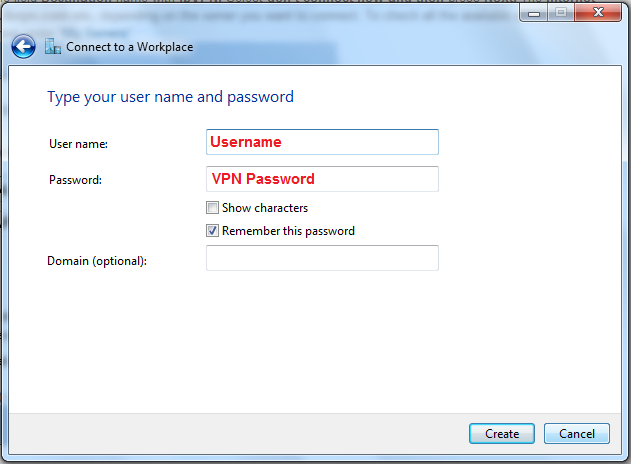
Step 7. Fill in your Username and VPN Password
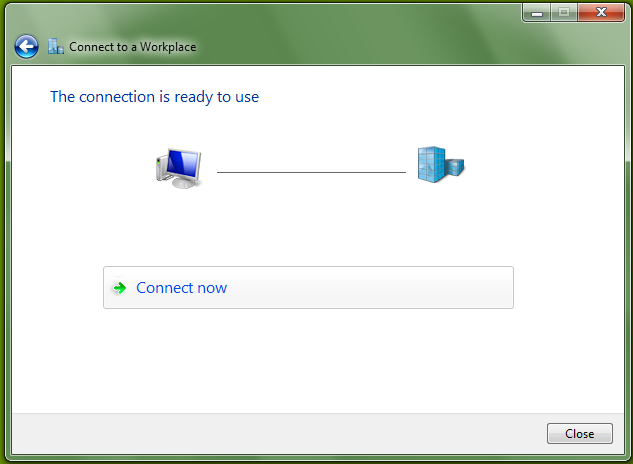
Step 8. Choose Close.
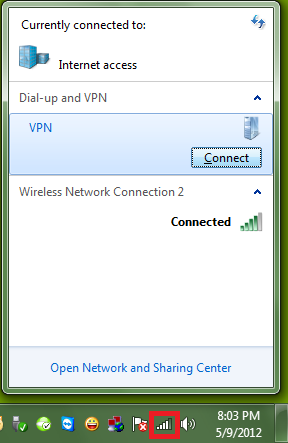
Step 9. Click on "Internet access" (see bellow, marked icon), choose the previous "VPN" created connection then click "Connect".
Step 10. You already have the username and password as you input them for step 7. If you don't see them, fill in your Username and VPN Password

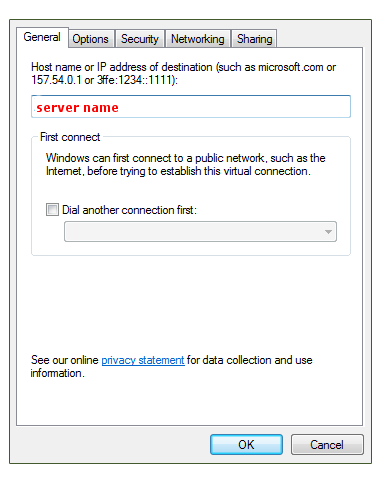
Step 11. In the General tab you will just have to input the server name, if you didn't do it at step 6.
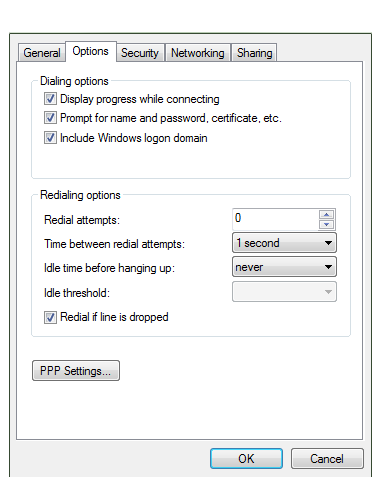
Step 12. The Option tab should already be configured with the following settings, adjust if needed.
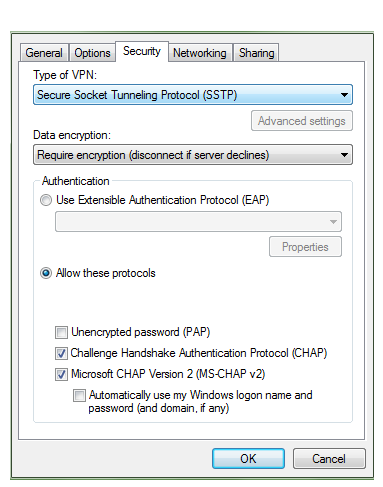
Step 13. In the Security tab you will have to select the Secure Socket Tunneling Protocol (SSTP), the click OK.
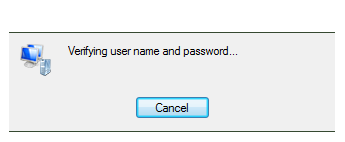
Step 14. Click Connect.

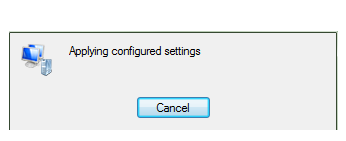
Step 15. Wait for it...
Step 16. Connected via VPN SSTP, your connection is encrypted.